

Timber cladding maintenance is something most garden room owners don’t think about until they notice the colour has shifted, the surface feels rough, or the boards are starting to look a little tired. A well-built garden room doesn’t demand constant attention, but the cladding does need a regular treatment schedule to stay in good condition.
Get it right, and your garden room will look sharp and perform well for decades. This guide walks you through everything you need to know, from how often to treat the timber to which products to use and when to bring in a professional.
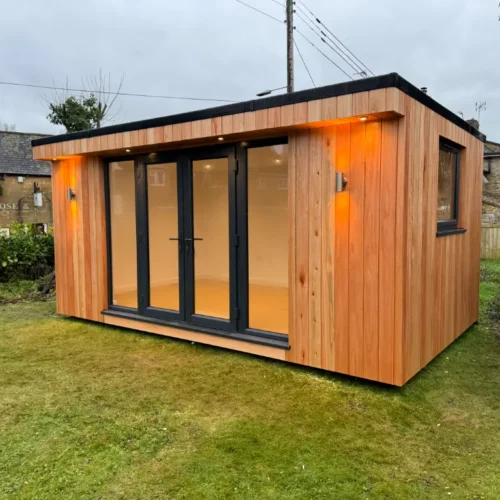
How Often to Treat Garden Room Timber
How often to treat garden room timber depends on the wood species, the existing finish, and its exposure to sun and rain. A south-facing garden room will usually need more attention than one in a sheltered spot.
As a general rule, oiled timber is often re-treated every 1–2 years, while stained or painted finishes may last around 2–3 years, sometimes longer depending on the product and exposure. It’s also worth checking the timber each spring to spot early signs of wear before the wetter months set in.
Oils, Stains and Paints: Choosing the Right Product
Choosing the right product matters as much as applying it correctly. The three main options suit different situations, and understanding the differences makes garden room wood treatment much more straightforward:
- Oils: Penetrating oils soak into the timber rather than forming a surface coat. They’re ideal for hardwoods like oak or western red cedar, as they feed the wood and keep it flexible. They don’t peel or flake, but they do need more frequent reapplication, typically every year or two.
- Timber Cladding Stain: Stains sit somewhere between an oil and a paint. They offer colour and protection, allow the wood grain to show through, and are available in solid or semi-transparent finishes. Most are water-based and straightforward to apply. They’re a good all-round choice for softwood cladding.
- Paints: Exterior paints give the most durable surface finish and the widest colour range, but they do form a film on the wood. If moisture gets beneath that film, peeling and bubbling can follow. They tend to suit smooth, pre-primed boards better than rough-sawn or textured cladding.
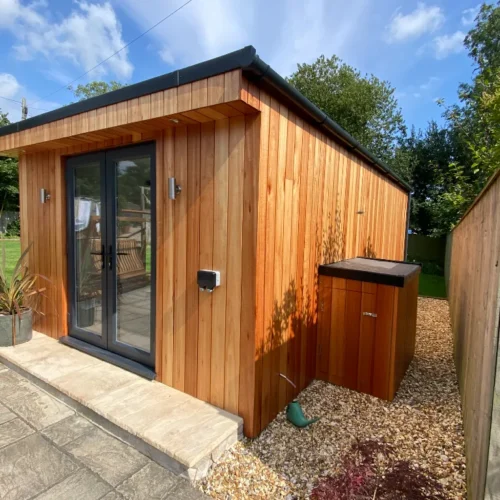
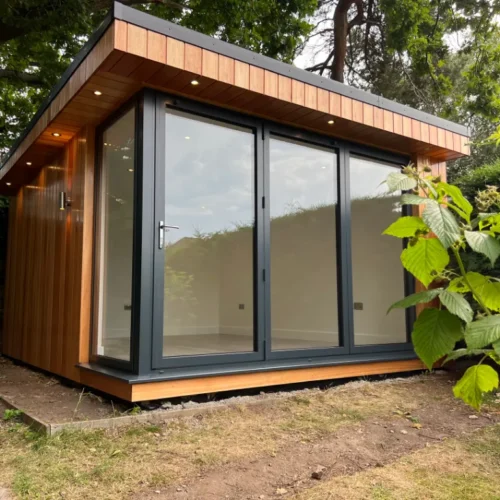
How To Treat Garden Room Cladding
Good preparation is most of what makes a treatment last. Rushing this stage is the most common reason a fresh coat of stain or oil starts failing earlier than it should.
Here’s how you should approach the task:
- Clean the Surface First: Use a stiff brush and a diluted wood cleaner to remove dirt, algae, and any residue from the previous treatment. Allow the boards to dry fully before you do anything else, ideally for 48 hours in dry weather.
- Sand Back Any Rough Areas: Light sanding with medium-grit paper smooths raised grain and gives the new product something to key into. Pay particular attention to the end grain, which absorbs moisture faster than the board’s face.
- Apply Your Chosen Product: Work with the grain, using a brush rather than a roller for textured or feather-edge boards. Apply in thin, even coats rather than one heavy coat, allowing each coat to dry before adding the next.
- Don’t Forget the Edges and Fixings: End grain, board edges, and the areas around fixings are where moisture tends to get in first. Make sure these areas get adequate coverage.
A timber cladding stain applied to properly prepared boards will typically last significantly longer than the same product applied over a dirty or damp surface.
Signs Your Cladding Needs Attention
Exterior cladding maintenance is partly about routine treatment and partly about knowing what to look for between treatments. Catching problems early almost always means less work and lower cost down the line.
Greying is usually the first thing people notice. This is a natural process called silvering, caused by UV exposure. While it doesn’t indicate structural damage, it does suggest that the protective treatment has worn off and that the wood is unprotected. Left untreated, the surface will start to absorb moisture more readily.
Cracking or splitting along the grain, flaking finish, or a surface that feels soft or spongy underfoot are all signs that timber cladding maintenance has been left too long. Soft or spongy boards in particular warrant closer inspection, as this can indicate early-stage rot rather than surface weathering. Black or green staining often indicates algae or mould growth, which thrives in damp, shaded conditions and spreads quickly if left untreated.

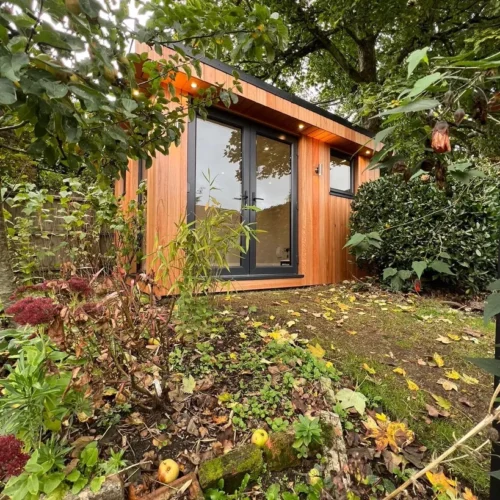
Garden Room Cladding Care Through the Seasons
Garden room cladding care isn’t a single annual task. Different seasons bring different demands, and a simple year-round routine keeps things manageable.
Spring is the best time for a full inspection and any treatment work. The weather is mild, the timber has had time to dry out, and you’re ahead of the main growing season for algae and mould. Summer is a good time for light maintenance, touching up any areas where the finish has worn back. Avoid treating timber in direct hot sun, as the product can dry too quickly and won’t penetrate properly.
Autumn calls for a check before the wet weather sets in. Clear any debris from around the base of the boards, as damp leaves sitting against the cladding accelerate moisture uptake. Winter is generally not the right time for treatment. Cold temperatures and damp conditions prevent most products from curing correctly, so if you spot something in December, note it and address it in spring.
Remember that consistent timber cladding maintenance throughout the year is far easier than dealing with significant deterioration that has built up.
When to DIY And When to Call a Professional
Most timber cladding maintenance is well within the reach of a competent DIYer. Cleaning, sanding, and applying a fresh coat of timber cladding stain or oil doesn’t require specialist tools or skills, just time, the right products, and a methodical approach.
Where it makes sense to bring in a professional is when the deterioration goes beyond the surface. If individual boards are soft, split beyond cosmetic cracking, or showing signs of rot at the joints or fixings, replacement rather than treatment is the right answer. Attempting to paint or stain over rotting timber doesn’t fix the underlying problem and can actually trap moisture, accelerating decay.
A professional can also assess whether moisture is entering from where it shouldn’t, whether the issue is with the cladding itself, or with the board fixings, flashing, or detailing around windows and doors. If you’re unsure what you’re looking at, an honest assessment from someone with experience in timber construction is worth getting before you commit to either a DIY treatment or a more significant repair.
Thinking About a New Garden Room?
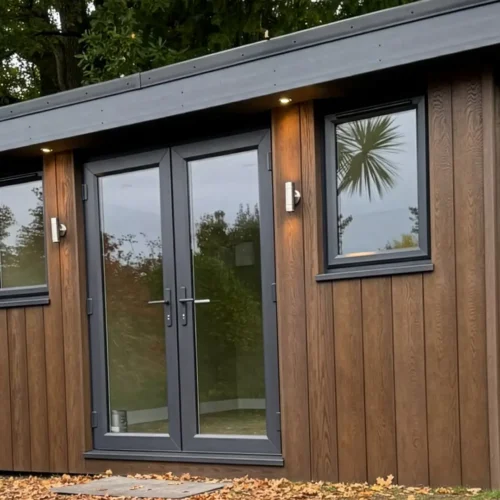
If you’re reading this as someone planning a first garden room rather than maintaining an existing one, it’s worth knowing that the cladding specification on a new build matters. A well-chosen, properly installed timber finish, applied correctly from the start, sets you up for a much simpler maintenance routine going forward.
At Garden Room Solutions, we build bespoke garden rooms across Dorset and the surrounding areas, using high-quality materials and finishes selected for long-term performance. If you’d like to talk through your options, call us on 01202 081198 or get in touch via our contact form, and we’ll get back to you within 48 hours.